dotnet new icerpc-slice-server -o MySliceServer
This command creates a new IceRPC server application in directory MySliceServer.

Let's examine each file:
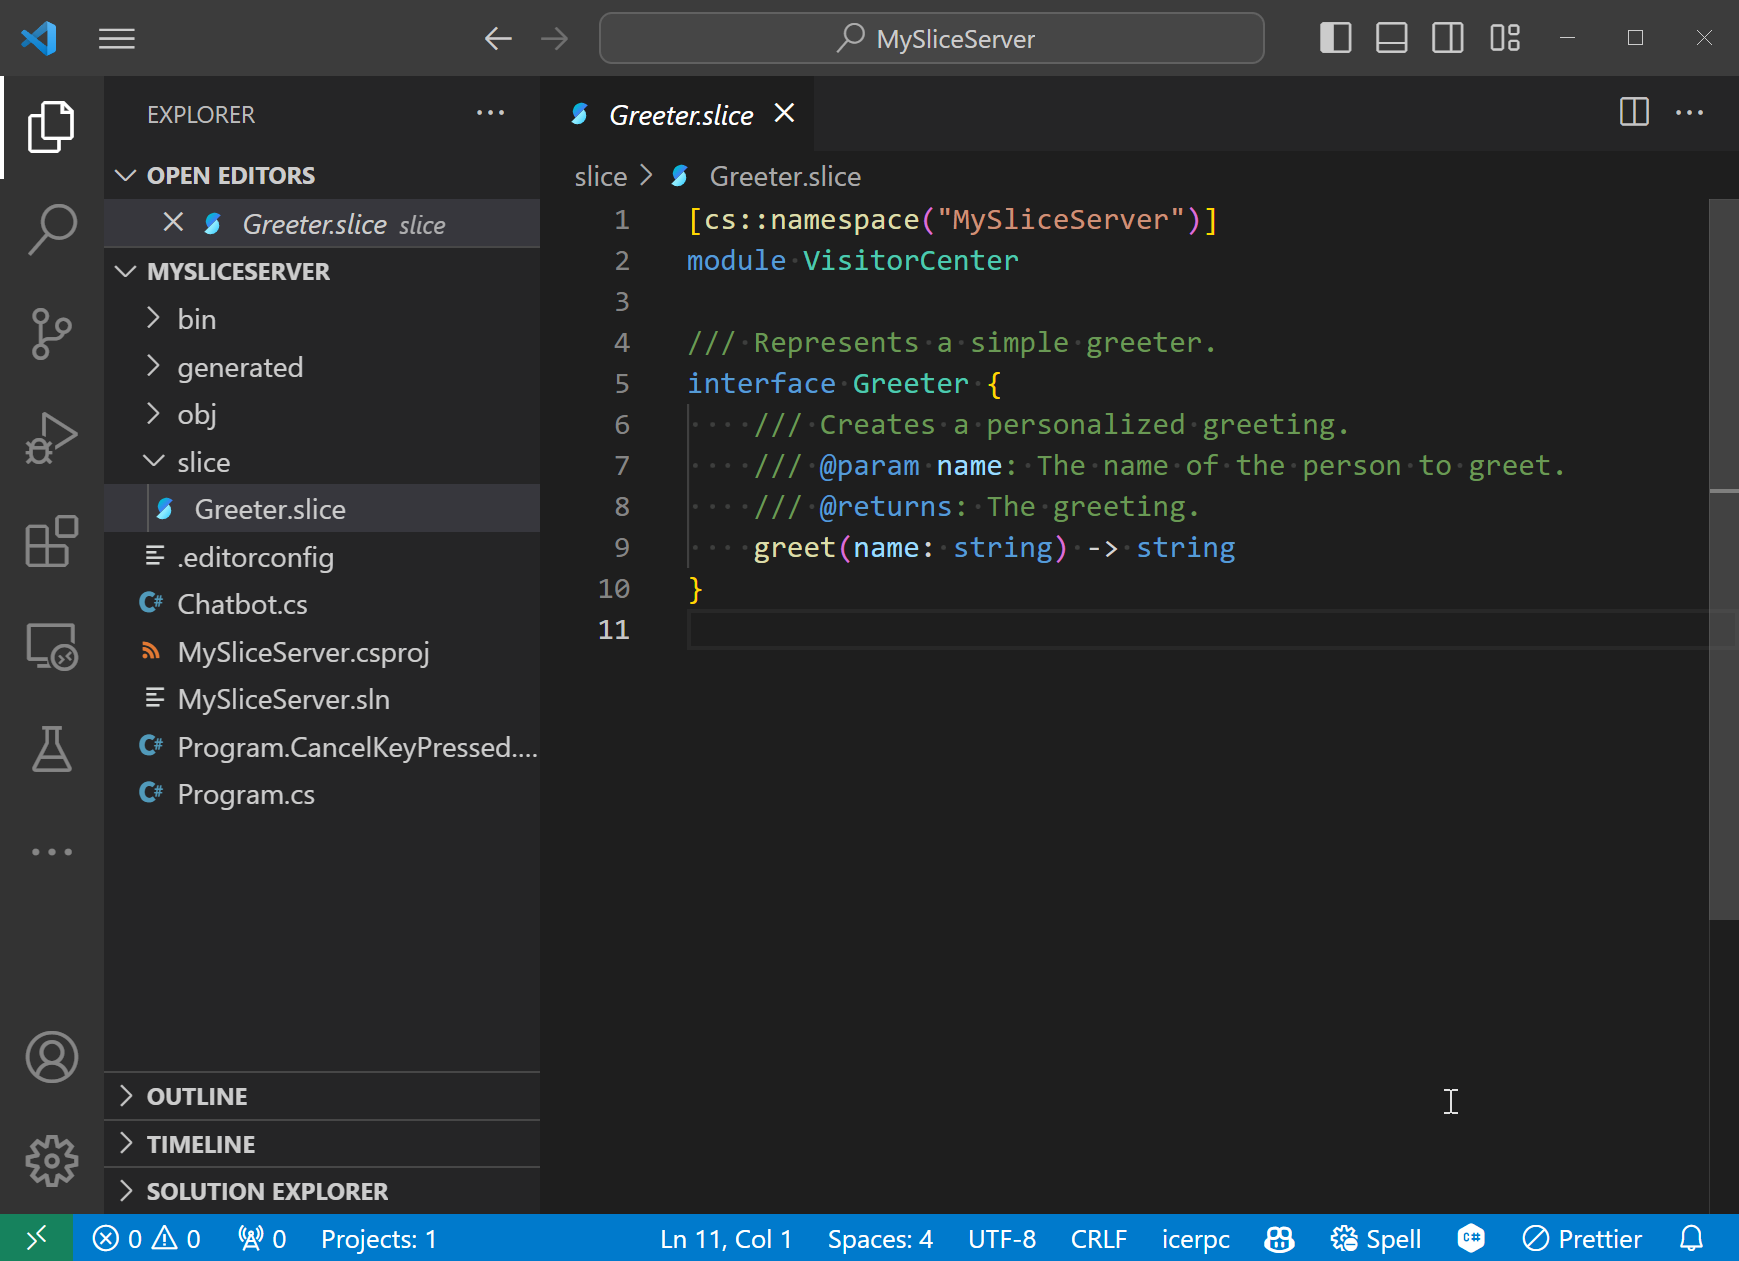
This file holds the contract between our client and server applications, specified with the Slice language.
It's a simple greeter:
[cs::namespace("MySliceServer")]
module VisitorCenter
interface Greeter {
greet(name: string) -> string
}
The cs::namespace attribute instructs the Slice compiler to map module VisitorCenter to C# namespace MySliceServer (our project name) instead of the default (VisitorCenter).
If you use this code as the starting point for a new application, you should update this interface to represent something meaningful for your application. For this tutorial, we just keep Greeter as-is.
Class Chatbot is a service that implements Slice interface Greeter:
[SliceService]
internal partial class Chatbot : IGreeterService
{
public ValueTask<string> GreetAsync(
string name,
IFeatureCollection features,
CancellationToken cancellationToken)
{
Console.WriteLine($"Dispatching greet request {{ name = '{name}' }}");
return new($"Hello, {name}!");
}
}
The Slice compiler generates C# interface IGreeterService from Slice interface Greeter. This C# interface is a template: we implement Greeter by implementing this interface. As you can see above, the greet operation becomes a GreetAsync method with two additional parameters.
Since we always fulfill greet synchronously, the GreetAsync implementation is not marked async. We could write the return statement as:
return new ValueTask<string>($"Hello, {name}!");
However, it's more convenient to omit the type name, especially when this type is complicated.
We mark class Chatbot as partial because the SliceService attribute instructs the Slice Service source generator to implement interface IDispatcher—in other words, make Chatbot an IceRPC service implementation.
The main program starts by creating and configuring a Router:
using ILoggerFactory loggerFactory = LoggerFactory.Create(builder =>
builder
.AddSimpleConsole()
.AddFilter("IceRpc", LogLevel.Information));
Router router = new Router()
.UseLogger(loggerFactory)
.UseDeadline()
.Map<IGreeterService>(new Chatbot());
This router corresponds to our dispatch pipeline: when we receive a request, we first give it to the Logger middleware, then to the Deadline middleware and finally we route this request based on its path.
The Map call means if the request's path is the default service path for Slice interface Greeter, route it to the Chatbot instance. Otherwise, the router returns a response with status code NotFound.
The default service path for Greeter is /VisitorCenter.Greeter (it uses the Slice module name and interface name). The Map call above is a shortcut for:
.Map("/VisitorCenter.Greeter", new Chatbot());
The main program then creates a Server that directs all incoming requests to router:
var sslServerAuthenticationOptions = new SslServerAuthenticationOptions
{
ServerCertificateContext = SslStreamCertificateContext.Create(
X509CertificateLoader.LoadPkcs12FromFile(
"certs/server.p12",
password: null,
keyStorageFlags: X509KeyStorageFlags.Exportable),
additionalCertificates: null)
};
await using var server = new Server(
dispatcher: router,
serverAuthenticationOptions,
logger: loggerFactory.CreateLogger<Server>());
We don't specify a server address so this server uses the default server address (icerpc://[::0]). This means the new server uses the icerpc protocol and will listen for connections on all network interfaces with the default port for icerpc (4062).
We don't specify a transport either so we use the default multiplexed transport (tcp). Setting the serverAuthenticationOptions means this server will only accept secure SSL connections.
At this point, the server is created but is not doing anything yet. A client attempting to connect would get a "connection refused" error.
The server starts listening on the next line:
Listen returns as soon as the server is listening (so almost immediately).
The main program then awaits until it receives a Ctrl+C. After it receives Ctrl+C, it shuts down the server gracefully:
await CancelKeyPressed;
await server.ShutdownAsync();
This file contains a few lines of code that Programs.cs uses to wait for Ctrl+C. It's not related to RPCs.
The project file is straightforward. It contains references to the required IceRpc NuGet packages:
- IceRpc.Slice - the IceRPC + Slice integration package
- IceRpc.Slice.Tools - the package that compiles
Greeter.slice into generated/Greeter.cs - IceRpc.Deadline and IceRpc.Logger - the packages with the two middleware we installed in the dispatch pipeline
